Installing Architraves: Common Mistakes to Avoid
Architraves might seem simple enough, but they tend to highlight crooked lines, cracking, and unsightly gaps. A rushed or carelessly installed moulding can ruin the look of a whole room. The key is knowing where things usually go wrong. With the right preparation, technique, and accurate positioning of each length of moulding, it’s possible to get crisp, professional-looking results.
Skipping Acclimatisation
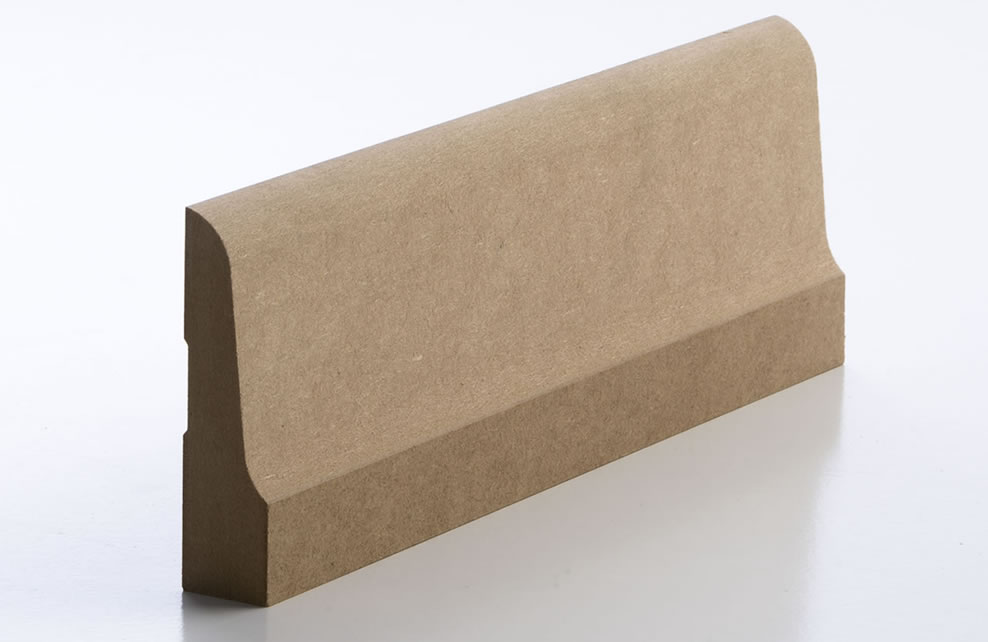
One of the most common mistakes with MDF mouldings is installing them straight out of the pack. It’s tempting since they look straight, clean, and ready to go. But skipping acclimatisation is how you end up with problems down the track.
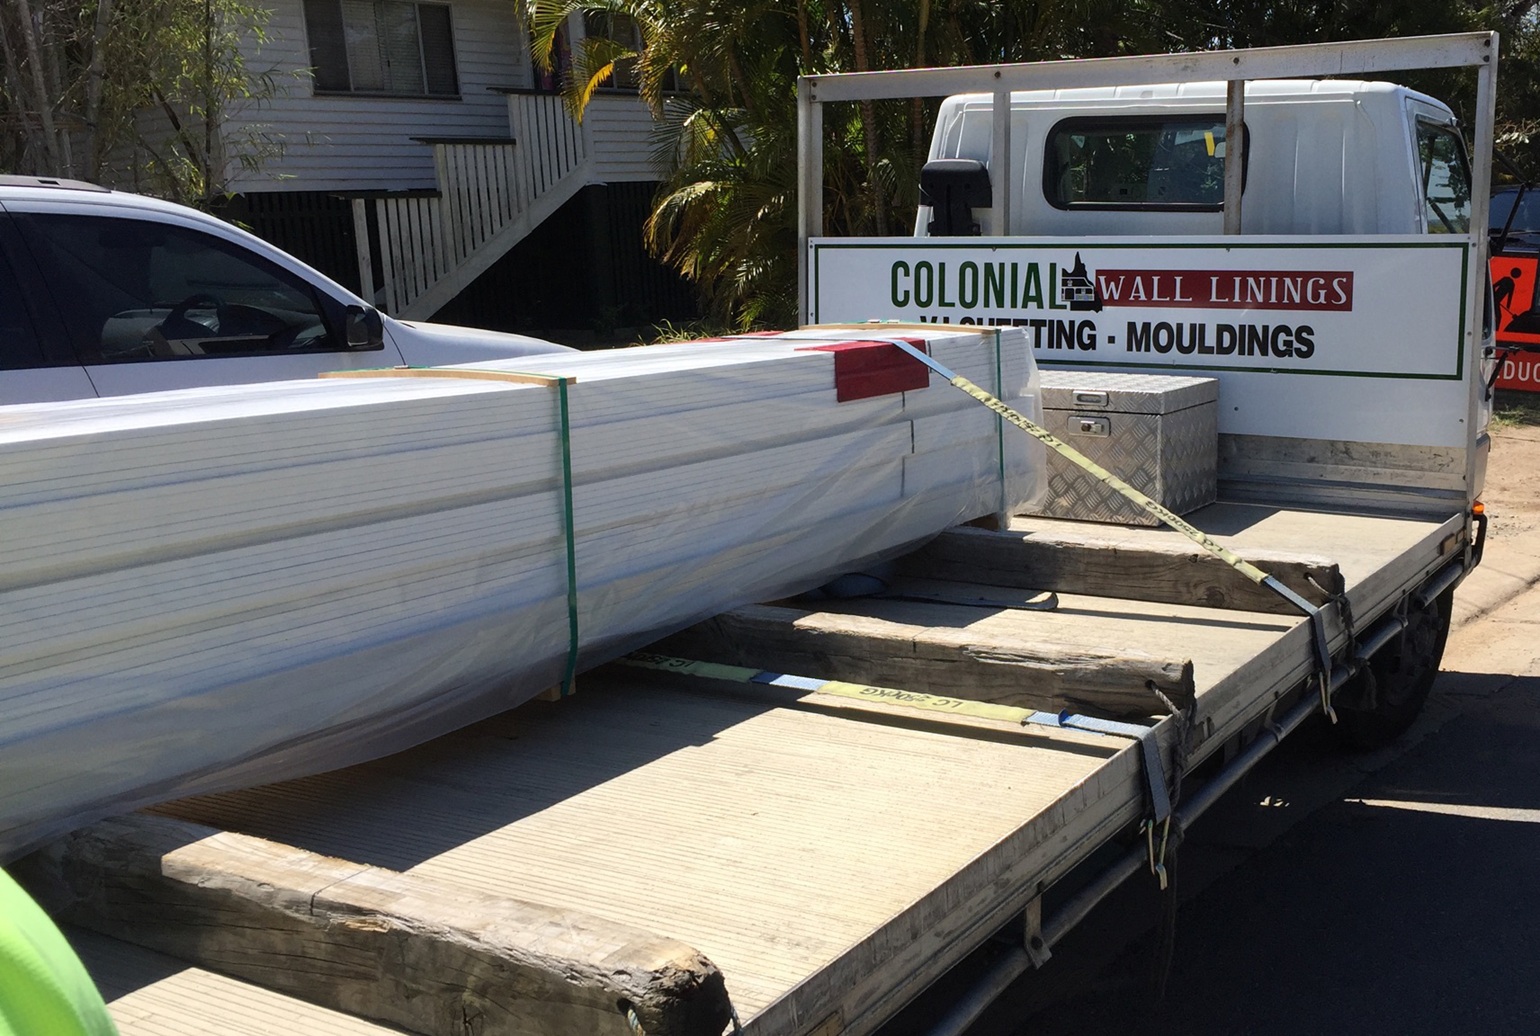
MDF and timber respond to changes in temperature and humidity. If they go from a cold warehouse or delivery truck straight onto a warm interior wall, they can shift. Warping, swelling, shrinking, even cracked paint or separated joints, can show up weeks later.
What To Do:
Lay the new architraves flat in the room where they’ll be installed. Let them sit for at least 48 hours, and much longer if conditions are damp or the room has just had plastering or painting. This gives the material time to stabilise, so it moves before it goes on the wall, not after. Wipe any surface dust off with a damp cloth before marking or cutting to ensure clean joins and good adhesive grip later on.
Rushing Measurements and Mitre Cuts
Rushing the measuring and cutting stage is where things start to go sideways. Mitre joints, especially at 45 degrees, leave no room for error. If the angle’s off by even half a degree, the gap will stand out once it’s painted.
What To Do:
- Step 1: A mitre box might not be too precise with cuts, so instead, use a good-quality mitre saw with a fine-tooth blade and make sure it’s been properly calibrated.
- Step 2: Take your time with each cut. Line it up using a reliable tape measure, check your measurements again, and cut in the intended direction of the moulding face to minimise splintering, especially with MDF.
- Step 3: Do a test fit (fitting architraves properly at this stage helps avoid gaps and uneven joins) before reaching for the PVA glue or nails. Precision here saves headaches later.
Missing the “Quirk”
A quirk is a small, even gap (usually around 5–10mm) between the inner edge of the moulding and the door or window frame. It’s subtle, but it’s there for a reason.
The quirk gives the moulding definition. It frames the door neatly and hides slight imperfections in the wall or frame. Without it, the door architrave either crowds the frame or looks like it was slapped on without a second thought.
What To Do:
We advise you not to rely on your sight alone. Take the time to measure and lightly mark your quirk line with a pencil before you start fixing anything. Use a combination square or make up a simple spacer, and run a straight edge along the markings to double-check that everything lines up evenly before fixing.
This also ensures consistency across the outer edge of each door casing, especially where the side piece meets the top architrave. This is especially noticeable in modern homes with clean architectural lines.
Ignoring Wall and Frame Imperfections
Walls and door frames are rarely square. In older homes, things will likely shift over time. Plaster can be uneven, timber can bow, and frames can settle out of alignment. If you fix your architraves without checking first, you’ll end up with gaps, twisted mouldings, or joints that don’t meet properly.
What To Do:
Always check the surface you’re working with. Grab a reliable spirit level and run it along the frame, wall, and floor. If something’s out, don’t try to force the architrave into place. That just creates stress points and ugly finishes.
Instead, use small shims or packers behind the moulding to bring it forward where needed. The aim is to get the flat side of the moulding sitting flush and straight, even if the wall behind it isn’t.
Also, keep an eye on the floor level. If the flooring isn’t level, especially where tiles or floating floors have been added, you may need to scribe or trim the bottom of the vertical legs starting from one end so they sit neatly over uneven floors.
Using Too Few (or the Wrong) Fasteners
If the architrave isn’t installed properly, it won’t stay put. Using the wrong type of fastener, or not enough of them, is a mistake that shows up later when joints start to open or mouldings pull away from the wall.
What To Do:
Always use finishing nails, head nails, or countersunk screws. These can be filled over cleanly before painting. Pinning into just the plasterboard isn’t enough. You need to be hitting the timber studs or the door jambs behind, otherwise the fix won’t last. This is especially important around high-traffic areas where doors are constantly being opened and shut.
Space your fixings evenly and make sure each piece is secure before you attach the next. Angle the nails slightly, and alternate the direction as you go (one left, one right or opposite directions) so the architrave locks in tighter. It’s a small trick, but it helps prevent movement over time.
If you’re using a nail gun, adjust the pressure so you don’t blow straight through the MDF. Use a hammer carefully if you’re not using a nail gun, especially when securing into wood framing behind plasterboard.
Rushing the Finishing
Even the neatest install won’t look right if the finishing was rushed. This is the stage that separates an average job from a polished, professional result. It can be where a lot of people lose patience.
What To Do:
- Start by dealing with the gaps. Mitre cut the joints, wall edges, and the top of the architrave where it meets uneven plaster. All of these need to be filled.
- Use a high-quality acrylic gap filler for the joins against the wall and ceiling. Avoid silicone as the paint won’t stick to it properly, and you’ll be left with ugly, shiny patches.
- For nail holes, use a timber filler that sets firm, not soft or crumbly, then sand it smooth so it blends in perfectly with the moulding.
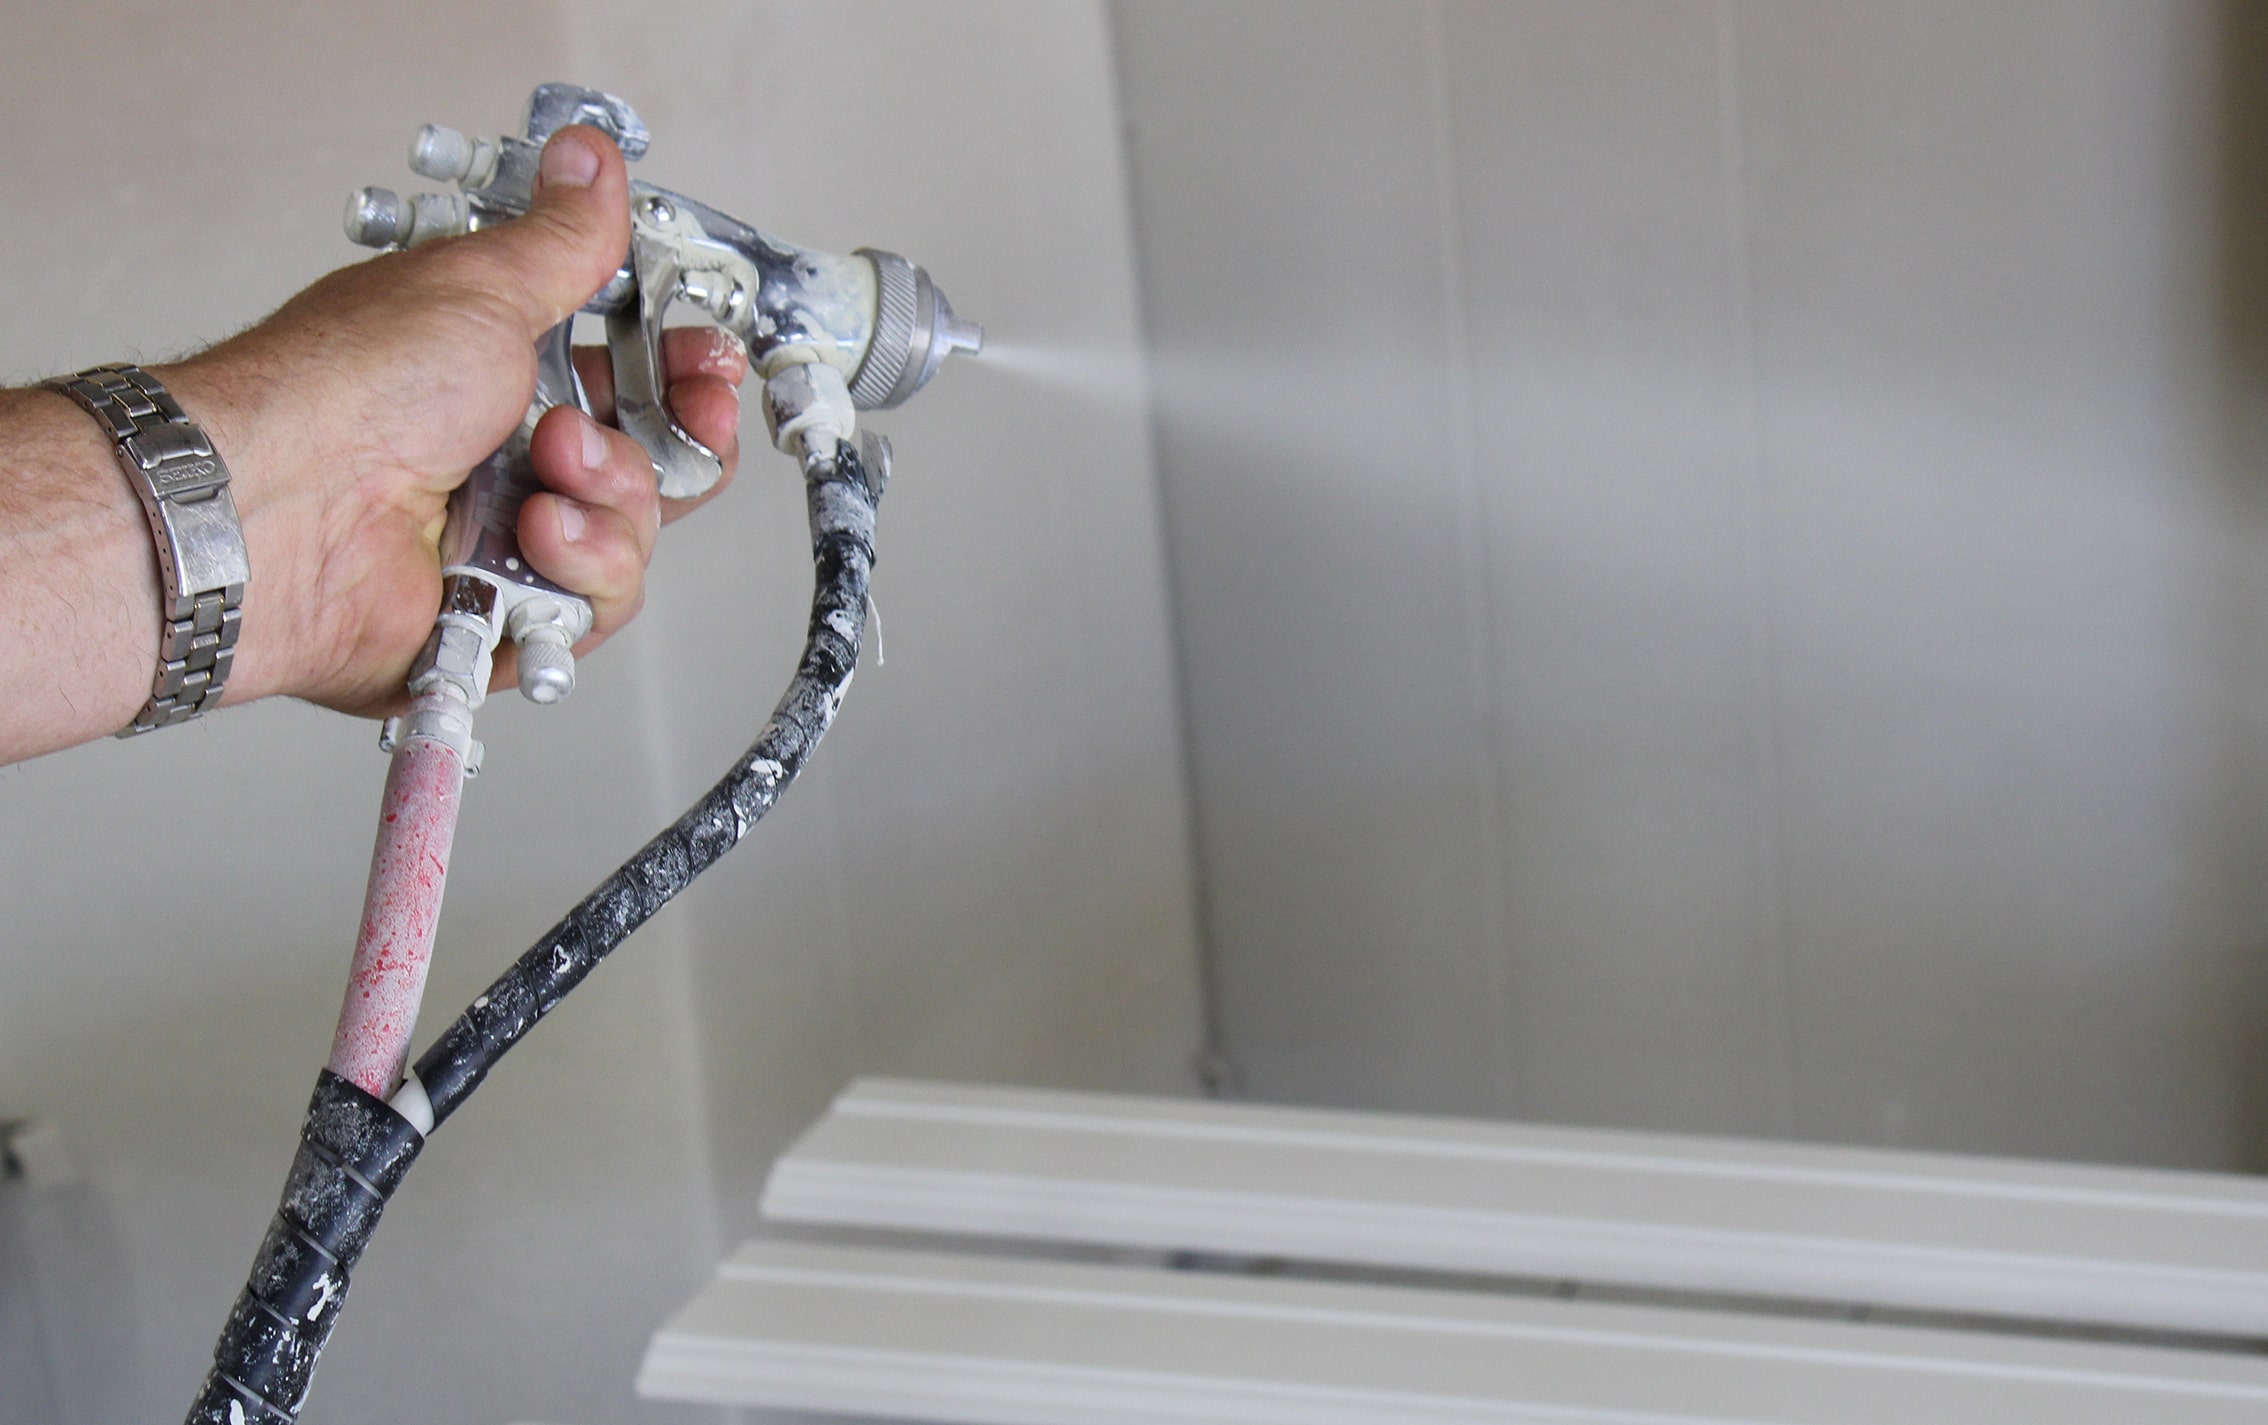
- If the mouldings are going to be painted, priming is a must, especially with raw MDF.
Avoiding Architrave Installation Mistakes Starts Here
Architraves might seem like a small detail, but they make a big visual impact. When installed properly, they give a room that crisp, finished look that feels solid and well-built. Take your time with the prep, measure carefully, and don’t cut corners on the finishing.
Need top-quality architraves and skirting boards?
Colonial Wall Linings offers a full range of premium MDF mouldings to help elevate the design of your renovation or build, from skirting boards and cornices to feature wall profiles. Everything is designed with quality, consistency, and easy installation in mind.
Reach out today and take the next step towards a better finish.


