Installing Architraves: Common Mistakes to Avoid
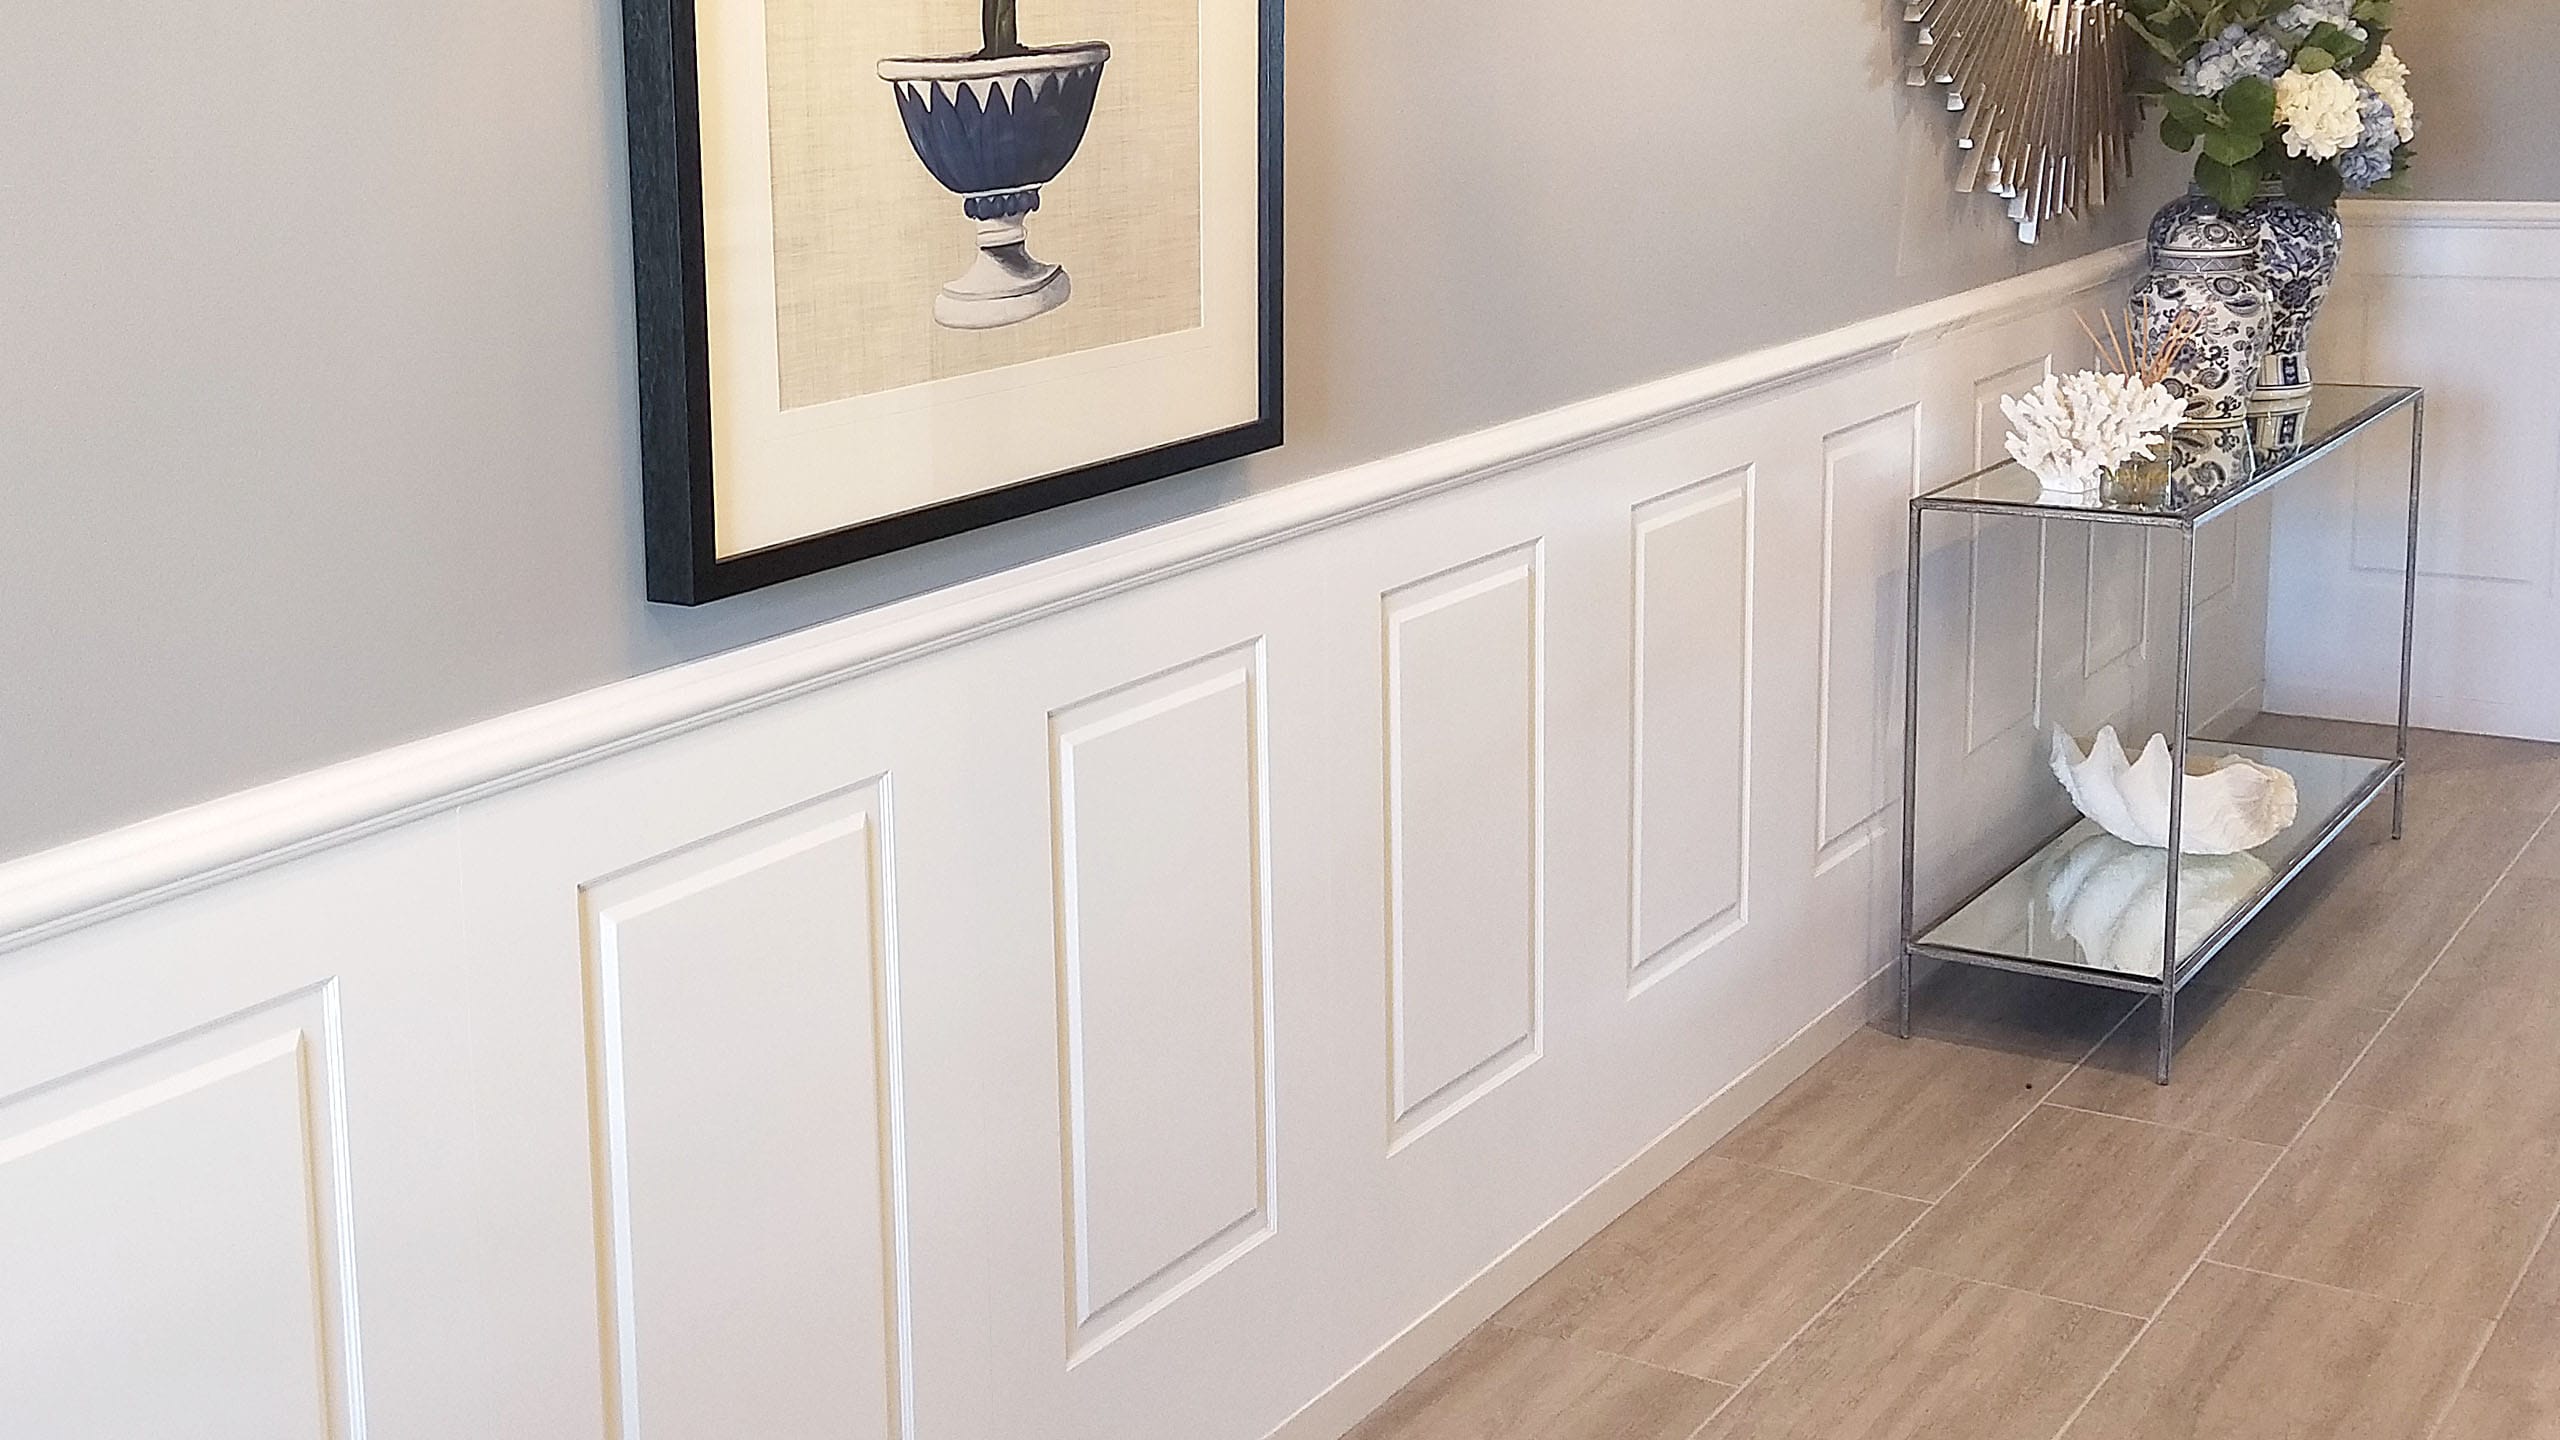
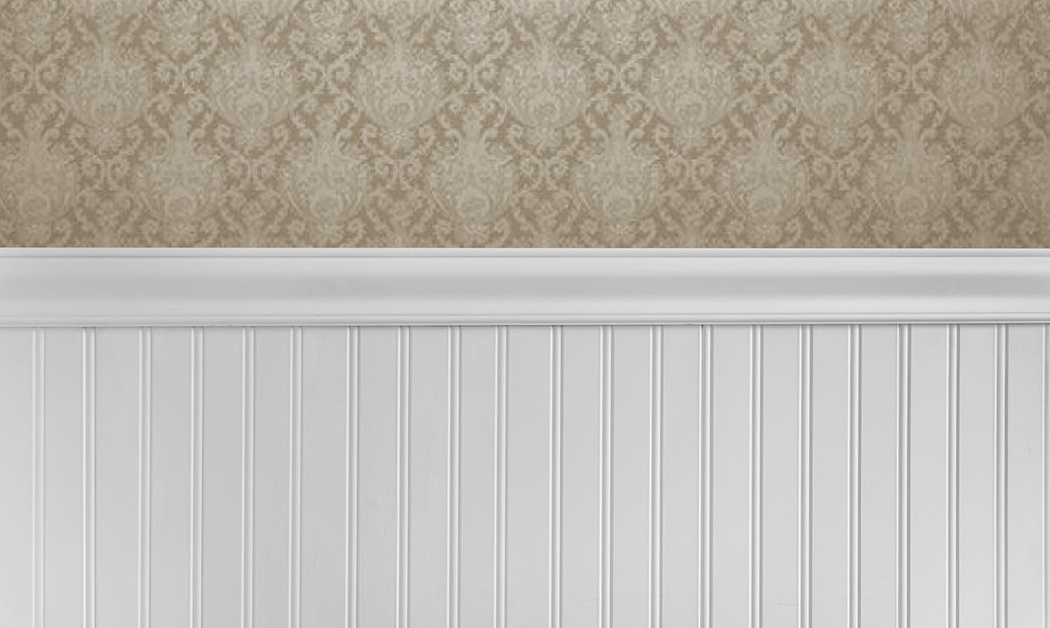
Let’s be honest, there’s something about VJ wall panelling that makes a room or space feel better. Maybe it’s the texture. Maybe it’s the charm. Whatever it is, it’s one of those upgrades that makes people say, “Whoa, that looks amazing. Did you get that done professionally?”And that’s the best part. You don’t need to.
With a bit of prep and patience, you can get that same professional finish yourself. A few of your neighbours may even copy this exact method after seeing the results. It works every time.
So, if you’re thinking about giving your walls a facelift, here’s how to do it properly. No shortcuts, no dodgy results.
Tools and Materials You’ll Need
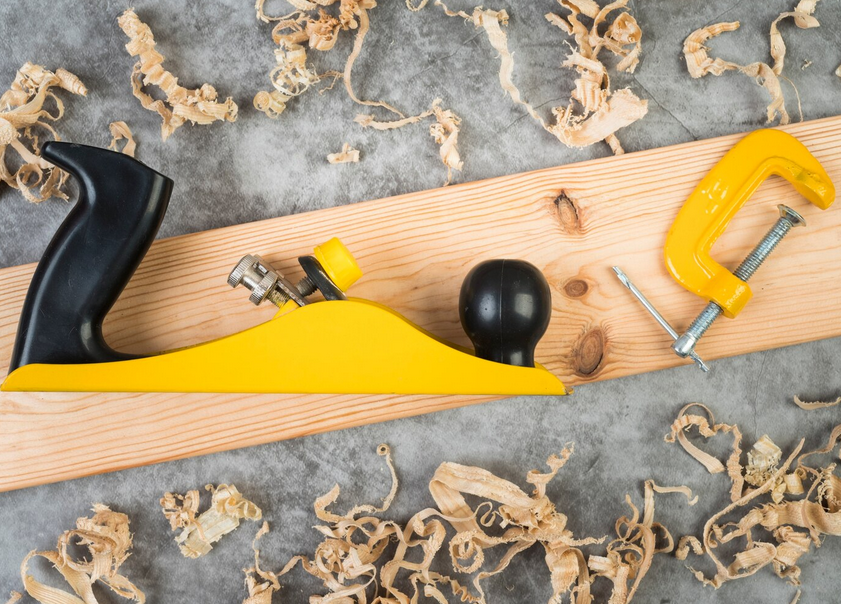
You don’t need a full workshop, but you do need the proper equipment. The right tools can turn an easy weekend job into a masterpiece. Some of the essentials include:
- Tape measure for accurate measurements
- Stud finder to locate studs behind the wall
- Circular saw or jigsaw for cutting panels to size
- Nail gun for securing panels
- Construction adhesive for extra hold
- Caulking gun and filler to cover nail holes and joints
- Sandpaper to smooth out imperfections
- Level, pencil, and safety gear
And of course, good-quality panels. The pre-primed VJ panels from Colonial Wall Linings are super easy to work with and look spot-on when finished.
Step 1: Measure and Prep
This part is where most DIYers stuff up. Measure everything. Then measure it again.
Mark a level starting line across the wall. If you’re keeping your skirting boards, leave a few millimetres gap at the bottom of the panels so they can expand without warping.
If you’re pulling the skirting boards off, label them so you can pop them back in the same spot later.
Step 2: Cut the Panels to Size
Cutting’s where things get real. Take your time. Those grooves are unforgiving if you’re off by even a few millimetres.
Need to cut around windows or power points? Mark it up first, then go slow with the saw. Don’t rush it. One wrong move and you’re back at the hardware store buying a replacement.
Pro tip: Leave a 5mm gap at the bottom of each panel for airflow and easier fitting against skirting.
Step 3: Stick, Nail, Repeat
Now for the fun part: putting it all up.
Find your studs with the finder and mark them. Smear a zigzag of construction adhesive on the back of your first panel and line it up with your starting mark. Make sure it’s very straight. If your first one’s off, everything after it will follow suit.
Once it’s in position, hit the studs with the nail gun. Not too close to the edge. Then grab the next panel and slide it in tight, groove to tongue, nice and snug.
Keep checking your level every few panels. It’s easy to drift, especially on long walls.
Step 4: Fill, Sand, and Paint
This is where it all comes together.
Fill the nail holes and any joins with a lightweight filler, let it dry, then sand it down until smooth. No need to go overboard. Just enough to blend it in.
Most VJ panels come pre-primed, which is a massive time saver. Just roll on your paint, two coats or maybe three if you’re going light. Use a brush for the grooves and a roller for the flat bits.
Once complete, that boring wall will look like something you’ll want to show off.
Step 5: Admire, Brag, Repeat
Stand back. Take it in. You’ve just built something that looks a million bucks, without paying someone else to do it.
VJ panelling completely changes a room. It’s warm, textured, and it’s the kind of detail that makes people think your house had a full renovation.
Ready to Install VJ Panelling on your Own?
This DIY method isn’t complicated. It’s about taking your time and doing the small things right. Measure properly, keep your panels straight, and don’t skimp on the adhesive.
It may be quite surprising to see how simple it is. Try it out, and you may end up saying the same thing, “I wish I’d done this sooner.”
If you’re ready to give it a go, check out our VJ panels at Colonial Wall Linings. They’re tough, easy to work with, and give that polished look that’s become the hallmark of a good weekend project done right.


